As I was browsing around the mall I kept noticing cute jean vests, and immediately thought “ouu I want one!” But the price of one was $30 or more. I love fashion and all, but I am also a cheap skate and I would never spend that much money for a jean vest, so I thought I could make my own.
I have made two of these vests so far. This tutorial shows how to make a jean vest without a collar and bottom hem. You can also keep the collar and bottom hem if you like.
Start by going to a thrift store (I usually go to Goodwill or Salvation Army) – I found 2 jean jackets for less than $10.00 total!
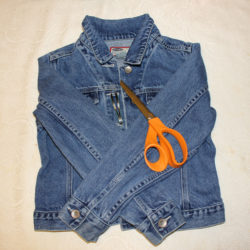
Here is what you’ll need to make your own jean vest.
- Jean jacket
- Scissors
- Seam ripper
- Tweezers
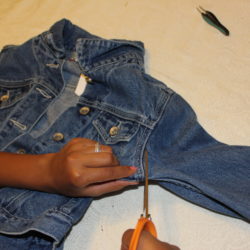
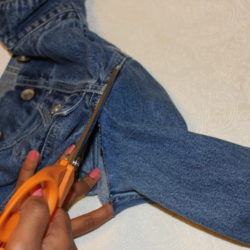
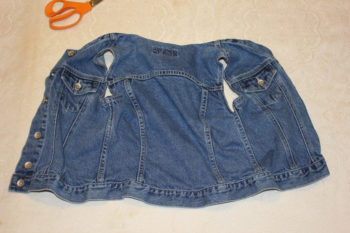
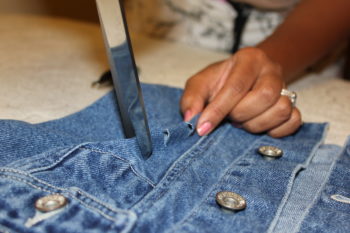
Spread out the sleeves and start cutting on the outside of the seam at the armpit. Cut a slit then put the scissors inside to cut one layer of fabric instead of the whole sleeve. This makes it easier to follow the seam (rather than cutting the whole sleeve all at once).
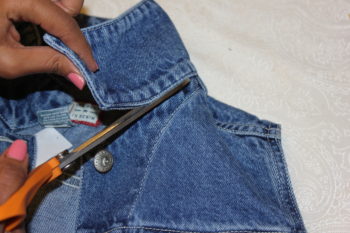
Lay the jacket down and straighten the collar, then start cutting the collar off. Make sure to cut below the seam so that there is no collar remaining.
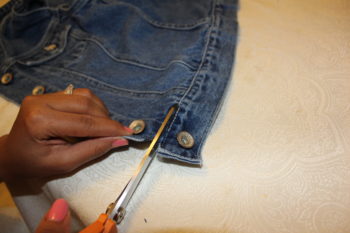
Lay vest down flat on a table then start cutting the bottom hem off.
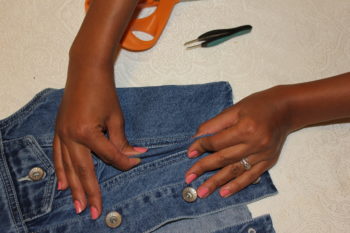
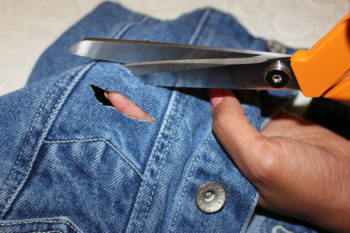
You can be done at this point, but I like the distressed jean look quite a bit. To give it that look, pinch any area where you would like the “distressed” holes to be then make 3 little cuts.
Make the cuts about 1 inch long each. Then use a seam ripper to start fraying the edges of the cuts.
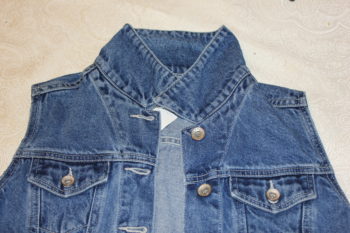
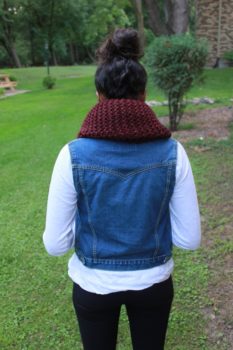
Here is what it looks like after it’s all done. First picture on the left shows what it looks like without the collar.
You can wear it with a tank top in the summer, or add neck warmers/scarves and long sleeves to give it a fall look.

