
I made this kimono back in September (in case you’re wondering why I don’t have a baby bump in the pictures), – I just never got around to making the tutorial. This will be super easy if you know how to use a sewing machine and have sewed in the past, but I must confess it took me longer than I thought since I am still learning how to sew. If you don’t have a sewing machine or don’t know how to use one, you can use a needle and a thread – it will just take you a while to finish.
For this DIY you will need:
- 1.5 to 2yd of chiffon fabric
- Measuring tape
- Scissors
- Washable fabric marker
- Pins
- Sewing machine OR a needle and thread
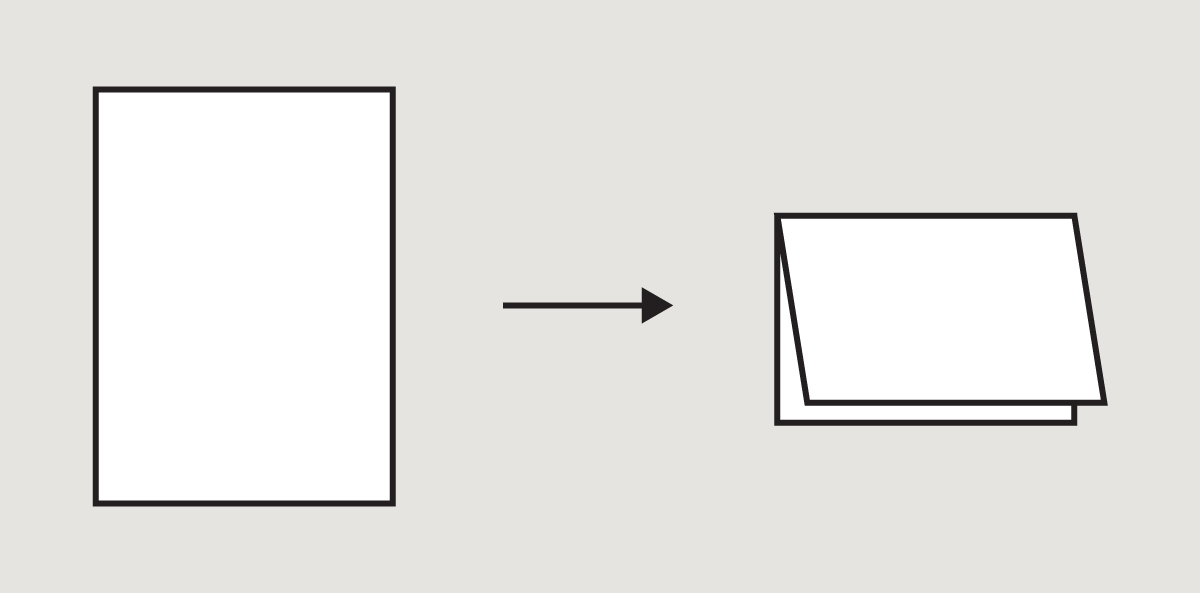
Begin by folding the fabric in half and lay it down with the fold at the top.
Measure and mark the sleeves and the body the size you want. You will want to add 2 inches to your desired sleeve and body widths for when you sew the edges together. For example, I wanted 8″ wide sleeves and 23″ wide body, so I measured 10″ for the sleeves and 25″ for the body.
 Cut through both layers along the markings. Then mark a line straight up the middle of the body along with a triangle for the neck. I made mine about 7″ wide. Once you have it cut out start sewing the sleeves together as well as the sides. It should look like one big T-shirt without a hole for a neck.

Cut down the middle line as well as cutting out the triangle for the neck. Make sure to cut only the top layer, like the image below:
 Once you’ve cut through the middle, hem both side of the openings. Also hem the bottoms ends, and around the sleeves. Turn it inside out, and you’re all done!